| Victory | Defeat |
|---|---|
| Seize Nikeda Redoubt | MC is defeated |
| Azuros is defeated | |
| Eberminster is captured |
| Objective | Reward |
|---|---|
| Kritea | 80 Gold, 2 Faction XP |
| Temple | 20 Faction XP |
| Nikeda | 798 Gold, 5 Faction XP |
| Midglen | 156 Gold, 2 Faction XP |
| Nikeda Redoubt | 25 Faction XP |
| Challenges |
|---|
| Azuros does not fall below 50% HP |

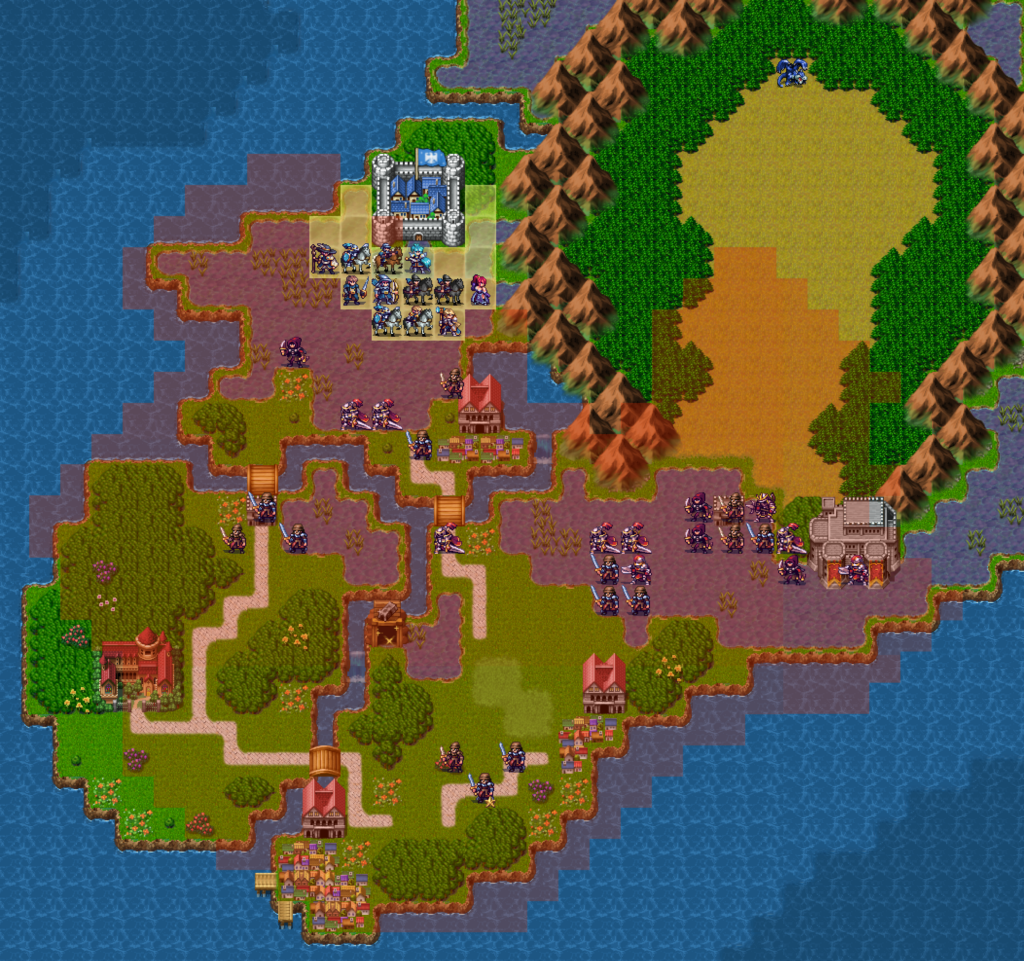
Saving Azuros is a race against time, but you can simplify it greatly by sending a flying dragon squad across the mountains immediately. The forests on the other side of the mountain are impassable by ground squads, so unfortunately you won’t be able to teleport over to join your flyers.
Otherwise you’ll want to rush the right bridge swiftly. Send in the hit and run squads to clear a path to the right bridge and advance as far as you can. Beware the many ambush squads lurking past the bridge. You’ll want to send a supremely defensive squad in first, carefully lure a few out a time or commit most of your forces to enable hit and run squads to retreat behind an infantry wall. The swamp will slow movement for heavy cavalry, so a light cavalry squad would be the best choice for hit and run here.
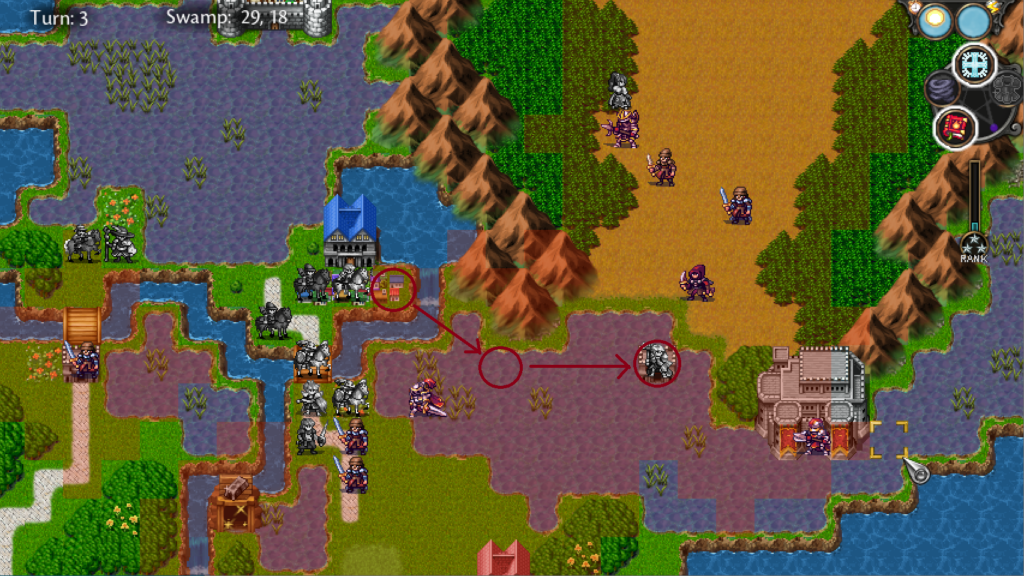
Once the enemy is engaged either at the right bridge choke point or just across it, you can teleport a squad with high survivability behind them. Send the squad to the right of Kritea and then teleport them across the river into the middle of the swamp. Moving after teleporting should enable them to reach the fortress square near the enemy base where they can weather attacks better.

As long as your flyer squad is self sustaining enough to take out a few enemies, you should be able to keep the enemy from even reaching Azuros. If you are concerned your flyer squad won’t be able to take them all, try leaving them in the trees and take out isolated enemy squads while Azuros tanks the others. The dragon king will take at least two rounds to drop below 50% health, so you have a bit of buffer.
The boss has no ranged attackers, so you can soften him up if you like. I sent Jaromir in after a single horse archer salvo and wiped the boss out, but then his squad is a little overkill now. I probably should have tried to put Jaromir in a little more danger; I overused Lysander’s beacon squad at the bridge choke point and ended up with significantly fewer surrenders than last map.
A little reference for old school tactics fans: Dragon’s Haven was a secret stage in Ogre Battle.
Interlude
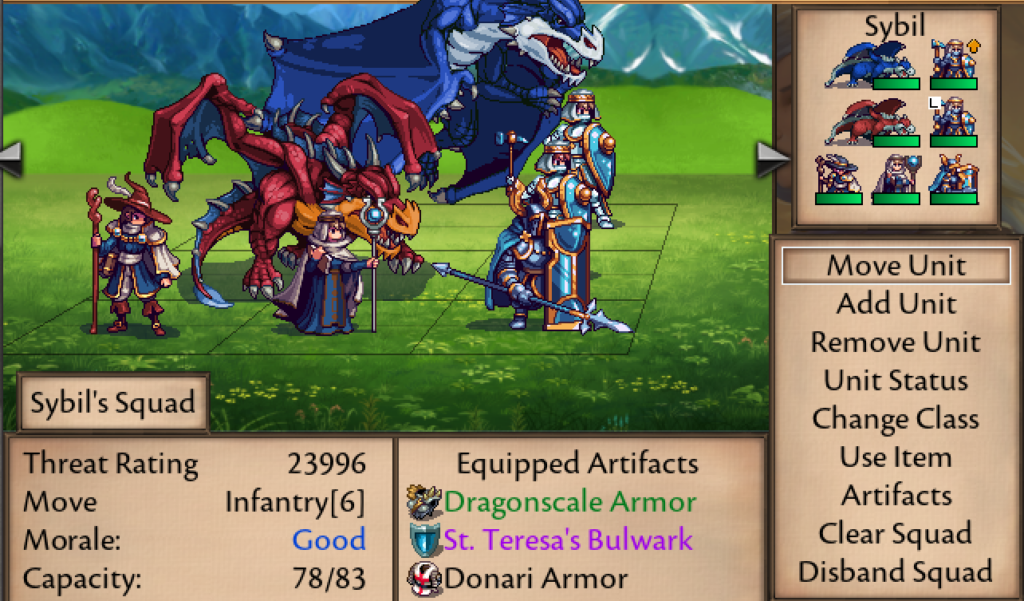
I tweaked Sybil’s squad, replacing an apprentice with Azuros and changing her artifacts around a bit to focus magic and strength now that she has two dragons.

I ran bronze arena once to get CP for the priestess in Sybil’s squad and lucked into a Challenger trait as a reward. I recruited a Zweihander with high strength and Warrior’s Hubris, turned him into a Champion and gave him the Challenger trait. I’ll try him out in the Skull of Rowdain squad instead of Lady Clarimonde, who can return to Lysander’s beacon squad.
Before moving on to the next gaiden chapter, make sure you have an empty small character spot in Diana’s squad.

