
Chapter 7: Tidereaver

| Victory | Defeat |
|---|---|
| Seize the Tidereaver Flagship | MC is defeated |
| Objective | Reward |
|---|---|
| Ship 10,18 | 408 Gold, 20 Faction XP |
| Ship 16,13 | 2439 Gold, 20 Faction XP |
| Ship 10,8 | 659 Gold, 20 Faction XP) |
| Ship 22,11 | 504 Gold, 25 Faction XP |
| Ship 29,5 | 1378 Gold, 20 Faction XP |
| Challenges |
|---|
| Narima is not defeated in battle |
| Seize all Tidereaver ships |
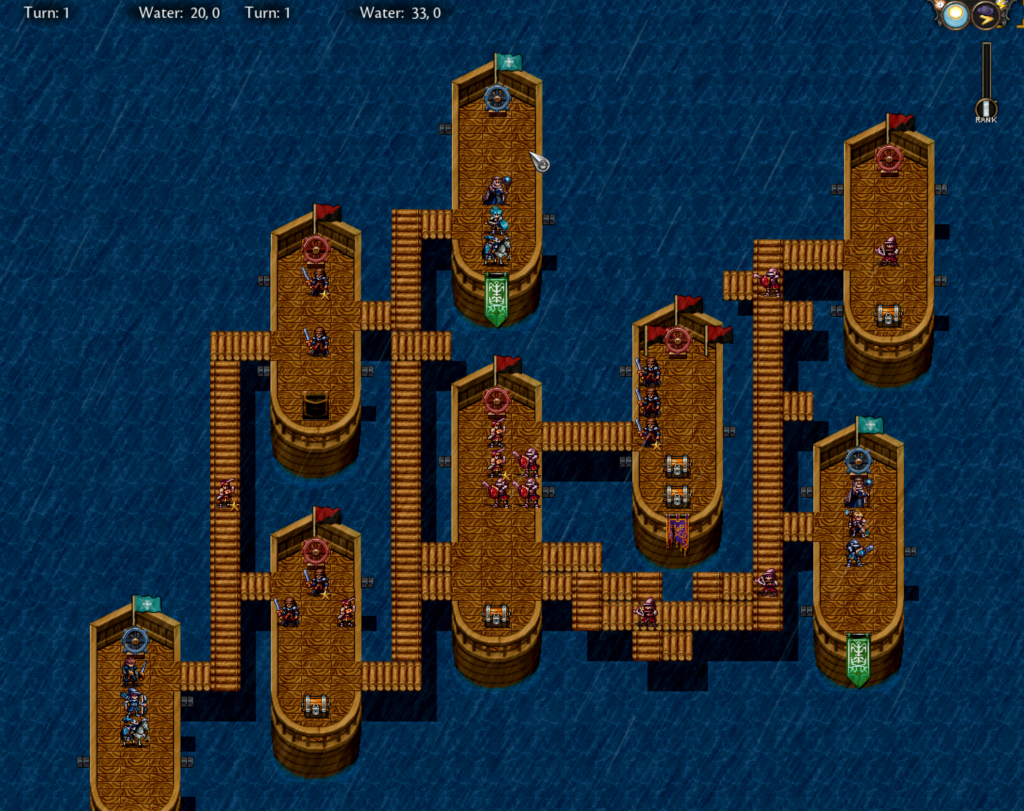
This ship to ship battle will test your ability to survive in three separate groups. Having multiple archer squads will be a great asset to weaken stronger foes before engaging. Cavalry and horse archers for hit and run will be a great boon as well.
You will find a very capable ally on the top left boat, so feel free to overload your strongest squads to the lower left followed by the right. The lower left position’s siren squads are particularly tough & could use a horse archer squad to whittle them down before having a strong squad stand in on defense. Diana’s squad is ideal for this defense, with their high magic resistance from class bonuses & high magic stats.
Note that the chapter will end when you take the pirate ship with three flags, so be sure to take the other ones first and gather all the treasure. Notably you will find a water affinity item, silver arena token and two proof of merits. The first is quite handy for any mages or healers that have the wrong elemental affinity and the proof of merits will give a slight boost to units who reach max CP in a third tier class.
Interlude
Might as well use that silver arena token immediately. The extra gold and artifact drops will have the most impact the earliest you can get them after all.
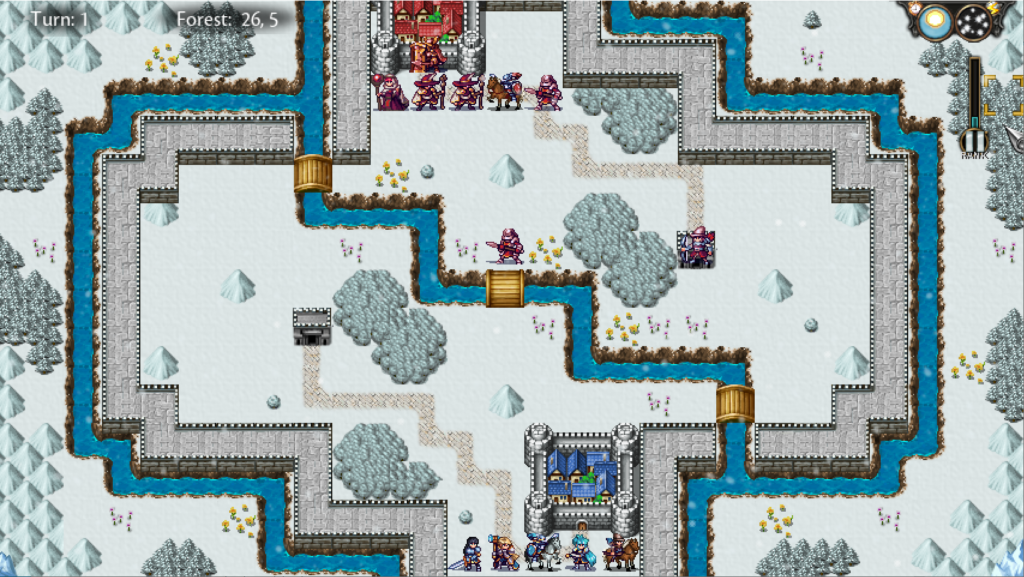
I recommend sending Diana, or any other defensive infantry, to hold the central bridge while you have archers behind her. If you have horse archers, you can send them up and retreat in waves to push the first enemy’s morale low enough to surrender. You will need a cavalry unit to reach them on the first turn or shuffle Diana forward with another infantry unit. Next turn the enemy forces will push up to the north side of the river and be sitting ducks for all your archers.
Remember you can always swap out squads if they take losses: the bonus victory criteria are about total squads being lost, not individual deaths and deaths are not permanent in arena.
Chapter 7: Tidereaver