| Victory | Defeat |
|---|---|
| MC reaches the Stone Gate | MC is defeated |
| Objective | Reward |
|---|---|
| Chest 4,15 | Apple of Agility |
| Chest 21,13 | Obsidian |
| Chest 8,10 | Iron |
| Chest 8,11 | 3877 gold |
| Chest 21,8 | Obsidian |
| Chest 3,6 | Gold Arena Token |
| Chest 3,7 | Obsidian |
| Challenges |
|---|
| Avoid taking hazard damage from lava |

Wild Card introduces hazard squares in the form of partially cooled lava? volcanic ejecta? Something really hot and painful anyway! Remain on a hazard square and you (or the enemy) will take damage at the start of the next turn. Assassin squads are upgraded to four assassins and two rogues this chapter, so be particularly wary of which team you leave in range of those backstabbers. The fire mage squads also pack quite a magical punch with 2 fire mages.
Your first goal is to wipe out or at least severely weaken the gunner squads during your first player phase. Otherwise they are likely to kill a few characters with concentrated fire. Hit and run tactics to weaken and allow a second squad to reach the enemy are key given the choke point and hazard in play.
Once the first choke point is taken, clean up the archers and skirmishers on the high ground on both sides of it. Then send your own archers up there to take out/weaken the assassins from range and chip away at the rest.
There’s a tight group of four fire mage squads near the end, so either advance squads with magic resistance or take them out on player phase. You could also sneak a horse archer squad or two up on the ledge to the left of them & weaken them at range. Just keep in mind the mages (but not the other classes) can attack up, so you will want to retreat from the edge.
Interlude
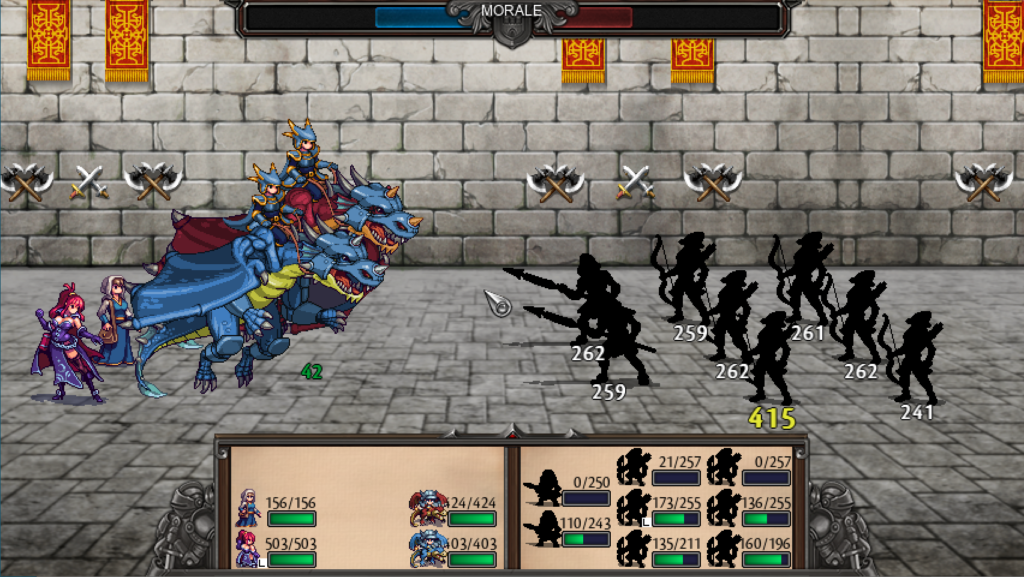
What, Beatrix is on our side now!? Other characters have narrowed the power gap since stage 11, but she can still clear entire enemy units with the right setup. I changed her to dark element, promoted some dragons to dragon riders and tossed in a healer to make a flying nuke squad. Beatrix’s small squad makes perfect use of Giant’s Thresher (+25% damage against larger squads, -25% damage against smaller squads) and perhaps I can luck into a Sin Credo eventually.

Somehow I plundered two platinum arena tokens and two gold arena tokens (one from a chest), so I went ahead and used those for a bit more coin and to get Beatrix’s healer a promotion. Bloodlust (on the red dragon) is firing for about 40 hp for each enemy killed, no matter who kills them. If I grab another Bloodlust or two, the squad might not even need a healer.
My second platinum token rewarded me with the Fang of Duros.

Also perfect for an archer squad since it minimizes the defensive downside of 0 magic and lets them rip through units. I might try it alongside the Tiara for Jules to see if he can zero out squads with both artifacts, but for now I’ll give it to my generic horse archer squad. I don’t really want to kill squads with horse archers anyway, as I would prefer to force them to surrender for faction XP. Once the tech tree is finished though, I might try stacking them together.
Speaking of surrender, my gunnery squad bearing the Skull of Rowdain is fine, but I was too hung up on the -8 strength/magic penalty. I just don’t have enough gunpowder units to leverage the skull fully, so it’s time to experiment. Ideally I would wipe the enemy in one turn to avoid taking tons of damage back (the morale penalty is pretty stiff). However, if I can wipe the enemy in one turn after a horse archer squad weakens them that’d still be incredibly effective.
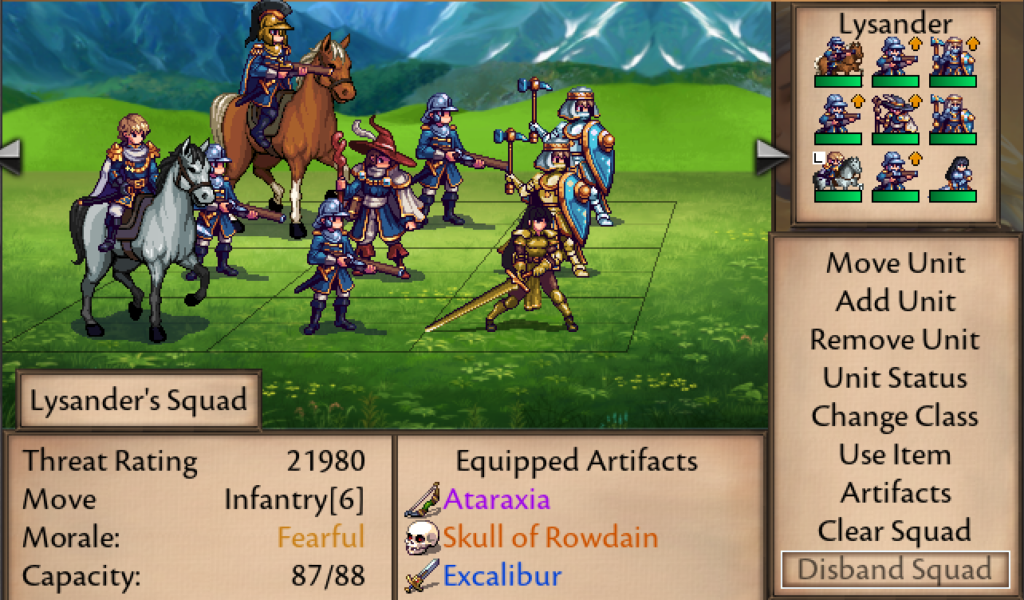
My first experiment was to toss the gunpowder attackers back into Lysander’s squad and add my best 2 paladins (Lady Clarimonde in gold) and my best sword master. This was a huge jump up from just the four guns for damage, but I wasn’t able to one turn wipe squads in platinum arena. With the morale penalty the sword master and even the paladins get hurt extremely fast too, so it is likely better to go full offense and prevent any return attack. Not to mention Lysander provides no damage, even if he has huge capacity.

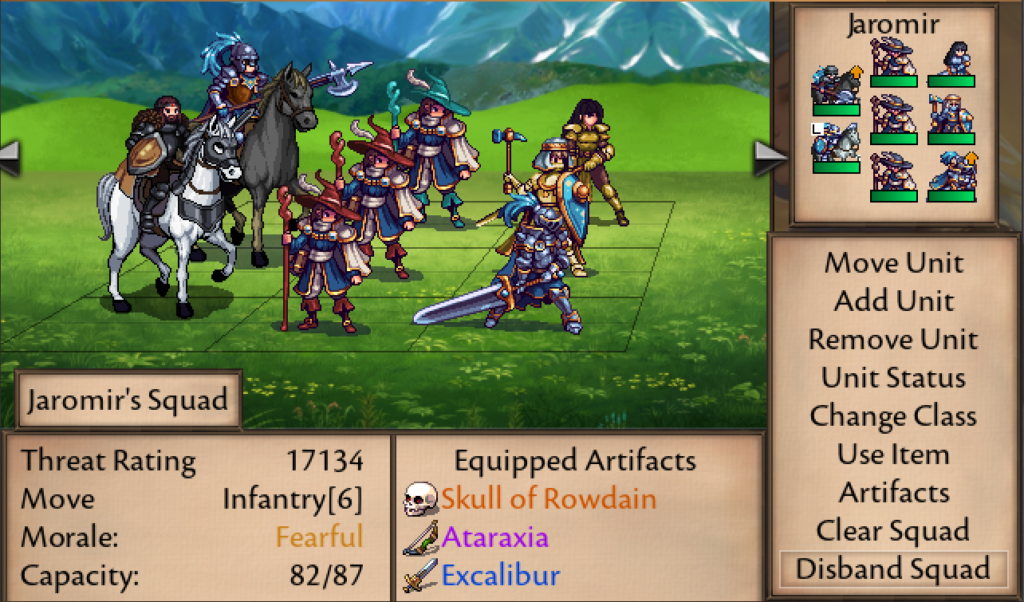
Jaromir gets the skull next, with the Outcast, Konrad the Cold and my best generic fire mage. I swapped out a paladin for a champion with challenger and my best Hussar. I couldn’t quite fit in 9 characters, but it didn’t really matter. The mages can wreck all sorts of havoc and then having light and heavy infantry attack in different phases helps avoid overkill. The big downside is the removal of healing, so Jaromir will require significant support.

Next up we’re going to run through the optional Gaiden stages, which I highly recommend you do as well. If you prefer to skip them then just jump ahead to stage 21 in the walkthrough. Note that the marketplace does refresh between Gaiden stages, so check now before moving on and between each one.

