
Chapter 11: Deadly Gambit

| Victory | Defeat |
|---|---|
| Seize Fort Eureeka | MC is defeated |
| Trucea is captured |
| Objective | Reward |
|---|---|
| Innsbruck | 2469 Gold, 22 Faction XP |
| Osterbach | 367 Gold, 5 Faction XP |
| Balcross | 585 Gold, 6 Faction XP |
| Donari Temple | 20 Faction XP |
| Challenges |
|---|
| Complete the Chapter within 20 turns |
| Complete the Chapter within 15 turns |
| Complete the Chapter within 10 turns |
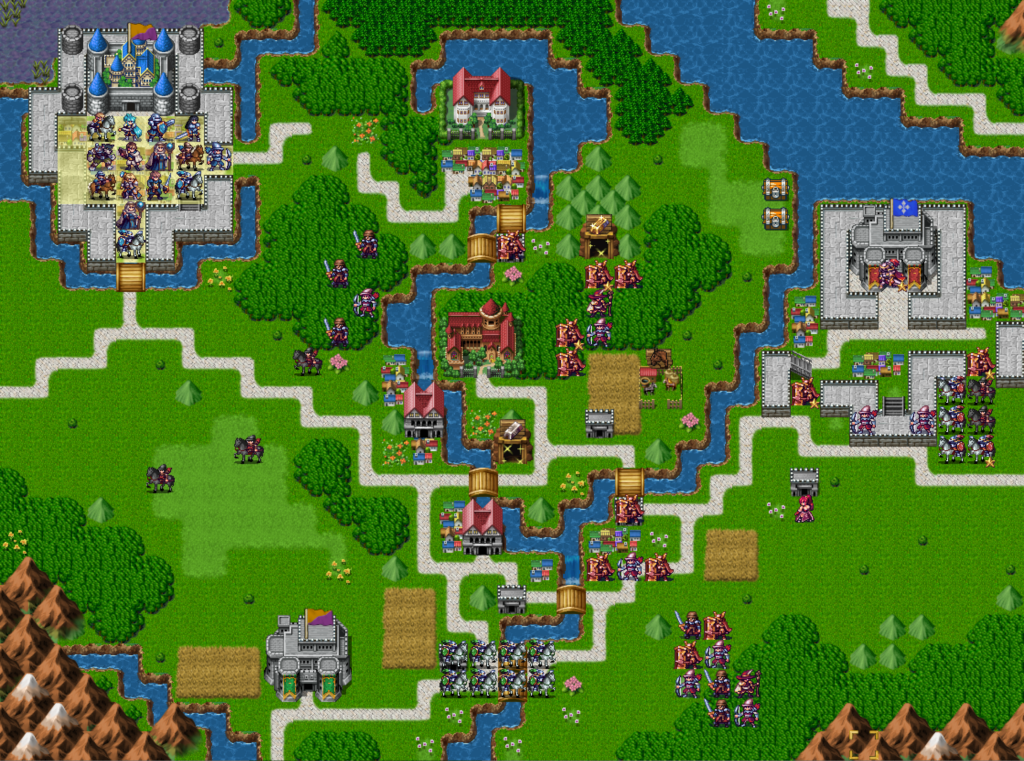
Once again you have Isantar’s reinforcements to the southwest. First clear out the troops in the forest with a care for their ambush capability. Then head down to aid your allies, sending some forces across the northern bridge and some down to the southern plains.
Beware Beatrice! Archers from range using “target leader” are the best way to focus her down, but she is quite adept at dodging. If you time the movement of horse archers right, you can let her advance almost to your horse archers, have them attack and then still retreat out of her range safely. You might as well just avoid her and take down the other enemy forces instead though.
On turn four Isanter’s knights will abandon the field in the face of Beatrice’s devastation. You should be closer now, but be careful and don’t get within Beatrice’s range unless you really don’t like a squad. Instead let her chase either your southern or northern forces away while advancing to the enemy base with the other group. Once you cross any of the bridges connecting to the main enemy base, Beatrix will retreat at the end of the next enemy phase.
Once Beatrix is dealt with you should have significantly less trouble with the rest of the enemy squads. The boss has 3 gunners protected by a decent front line, so soften them up with ranged attacks or use a squad with sentinels (extra defense against firearms) or an artifact that provides a similar effect.
Interlude
I highly recommend using all of your arena tokens before you continue to the next chapter, Upheaval. Having a few squads resilient to firearms wouldn’t hurt either!
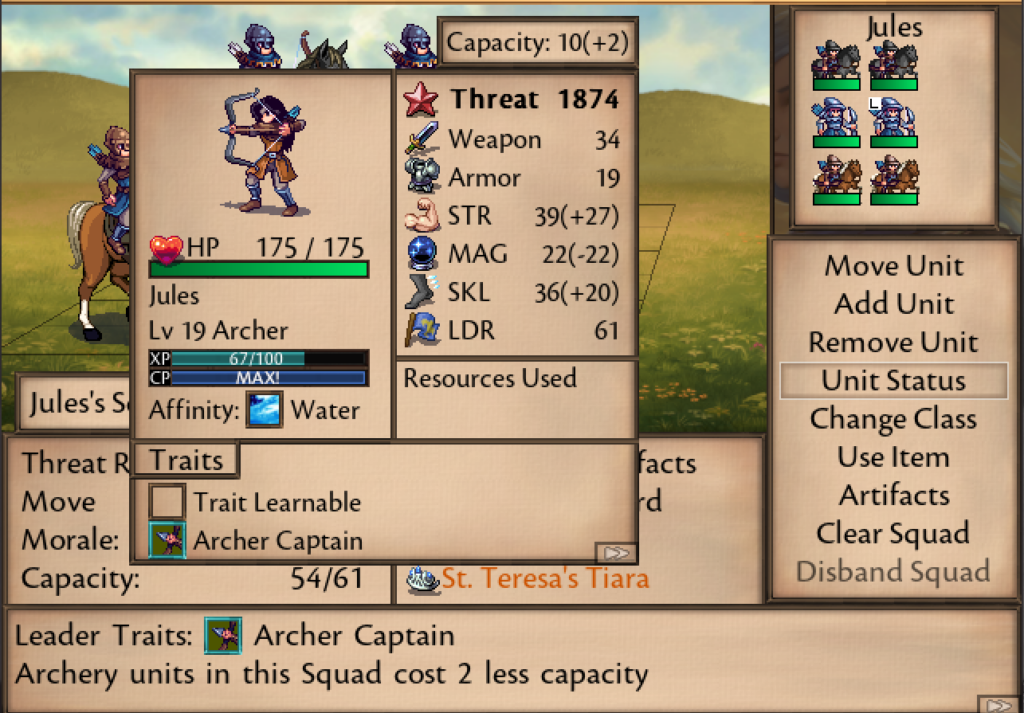
I purchased St Teresa’s Tiara, which removes all magic and adds that much to strength, for Jules’s squad. This grants 14 to 22 strength to all his horse archers with almost no downside, since his squad has no healers or mages. It does decrease the squad’s magic resistance, but they should not be taking any return attacks besides enemy archers.
After some grinding and swapping Lady Clarimonde to paladin, here is Lysander’s tank squad version 2.0. I went ahead and used proof of merits to golden Clarimonde plus my best sentinel and used all my defensive traits (bodyguard, beacon, resolve, healing attuned, immortal spirit) on the squad. I gave desperation to Lysander for extra heals when he is hurt. While he won’t take damage from targeted attacks due to his leader skill, long range fire will still hurt him and cause desperation to trigger.

After playing stage 12, Lysander’s squad is too defensive and too high threat which doesn’t combine well. He’d be better off subbing out the two mid line two sentinels for a dragon or such, but it was fun to make a squad as tanky as possible.
Chapter 11: Deadly Gambit