| Victory | Defeat |
|---|---|
| Seize Trucea | MC is defeated |
| Isanter Palace is captured | |
| Lemelin Fortress is captured |
| Objective | Reward |
|---|---|
| Teutoberg | 3682 Gold, 12 Faction XP |
| Kusloda | 237 Gold, 2 Faction XP |
| Donari Temple | 20 Faction XP |
| Chest 18,30 | Medal of Valor |
| Challenges |
|---|
| No enemy squads attack Isanter Palace |
| Complete The Chapter within 12 turns |

The deployment limit jumps to a massive 15 squads here and while there is no need to deploy the full 15, you can deploy some odds and ends for healing and grabbing treasures. If you didn’t recruit Raskuja in chapter 8, you can do so for free now. Send him and other light squads off into the woods to handle the enemy there. If you start a light squad on a hill square they will be able to ambush on the initial turn, which could turn the tides considerably in your favor.
You also need to immediately deal with the crossbows on the walls without leaving yourself vulnerable to the six squads due south. The south eastern enemy will immediately move west to attack Isanter’s forces, so you’ll need to swiftly rout the middle forces if you are to prevent your allies collapse. The two green squads on fortresses are actually fairly resilient to the enemy sentinel squads, who themselves are mostly defensive, but if the mage squads attack them it’ll be over swiftly.
The far western enemy forces won’t automatically attack, so you can relieve your beleaguered allies first and then turn to face the rest of the enemy. I sent my mounted units and my most forward infantry skirting left of the temple save Isantar while the squads who were further behind went straight south to meet the far western enemy.
Once you do save Isantar, be sure to visit the Bazaar. I recruited Centhos the Muse for his Silver Tongued trait: enemy units are more likely to surrender. I had built up a ton of gold, so splurged on a sword master and a hussar too. They were both lightning affinity and had assassin’s heart: crit damage +50%.

The boss here is a sentinel, so he’ll take some time to grind down and his henchmen can do some serious damage: he has both tier 3 infantry and crossbows. Heavy armored squads will fare the best here with healing support or cavalry hit and runs to avoid getting focused down. You can whittle the leader down with archers too, you’ll just want to use the cautious tactic to reduce the chances of losing one of your bowmen.
Interlude
My streak of unique mercenary luck continues with the hiring of Lady Clarimonde. While Valkyries are more well rounded than the best at any one role, her skill set of arcane barrier and beacon will fit my Lysander squad perfectly. Not to mention she has a massive 387 hit points and 53 strength.

I also spent more tech points to improve tactical options, beef up magic defenses and complete the magical offense tier 3 techs.
- Optimized Tactics: Improves the effects of most special commands (cautious, aggressive)
- Sisterhood of Justice: Acolytes, Paladins,Valkyries, Diana receive additional magic resistance based on their armor
- Hex Mastery: Status effects from dragons and magicians have an increased chance
- Spirit Piercing: Magician and dragon attacks ignore 25% of resistance
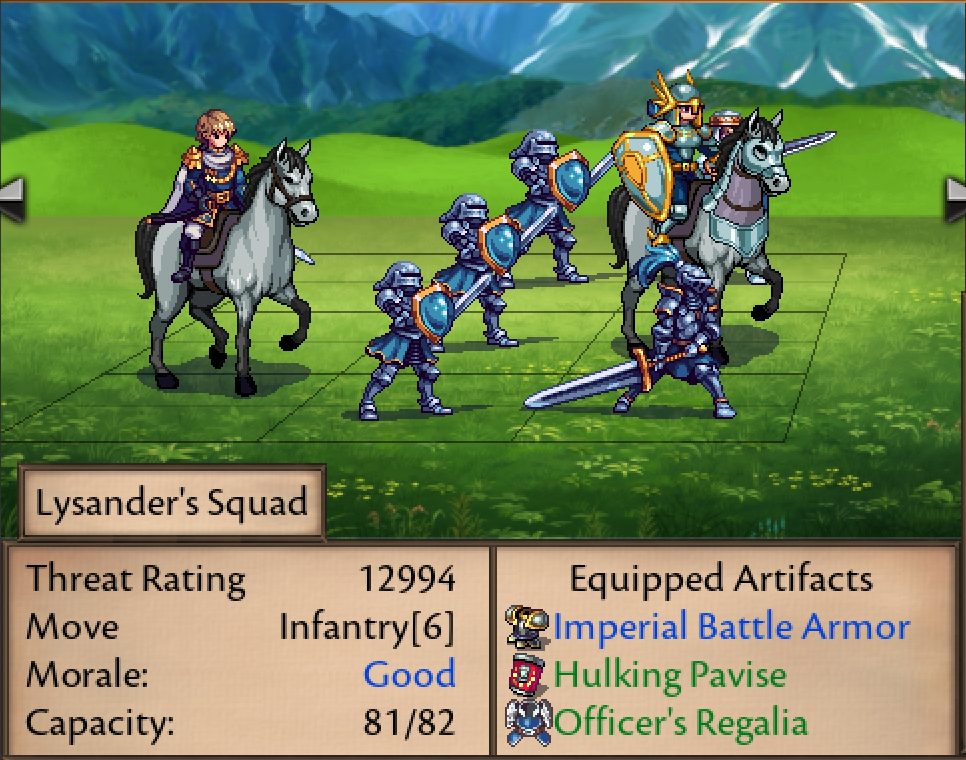
After reforming Lysander’s squad it’s looking quite beefy. Probably should change the zweihander into a sentinel at some point though.


